
type
status
date
slug
summary
tags
category
icon
password
Language
环境
配置好SqlServer2019-》SqlServer SSMS(管理工具)-》visual studio
第一,最好按照这个顺序安装。第二,建立数据仓库要用到visual studio,ssms只是管理工具
第三,如果要用报表服务,这个东西是要另外安装的,官网有,然后也是用visual studio来建模。
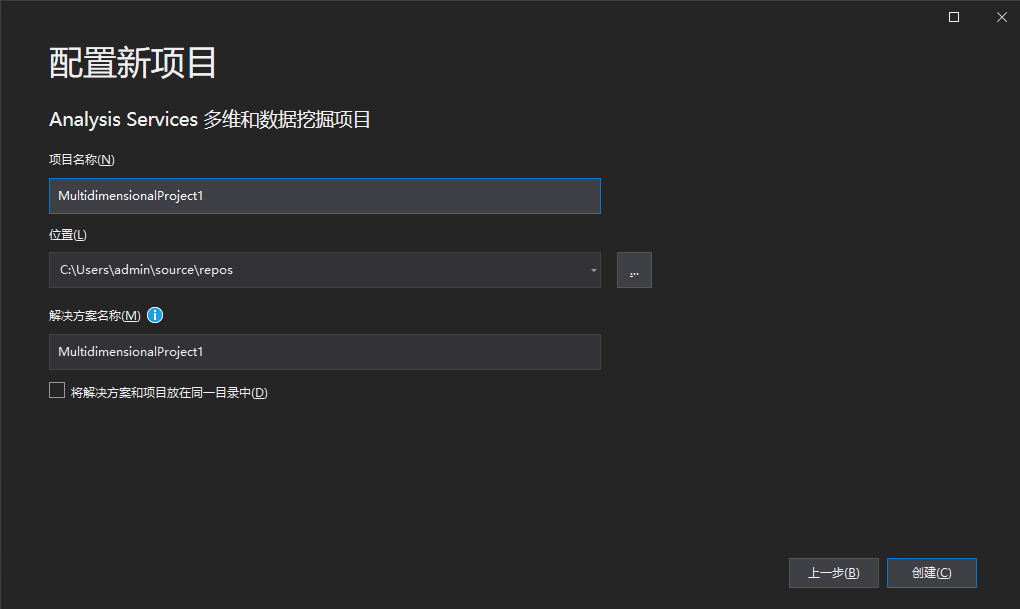
建立项目
建立 Analysis Services 多维和数据挖掘项目
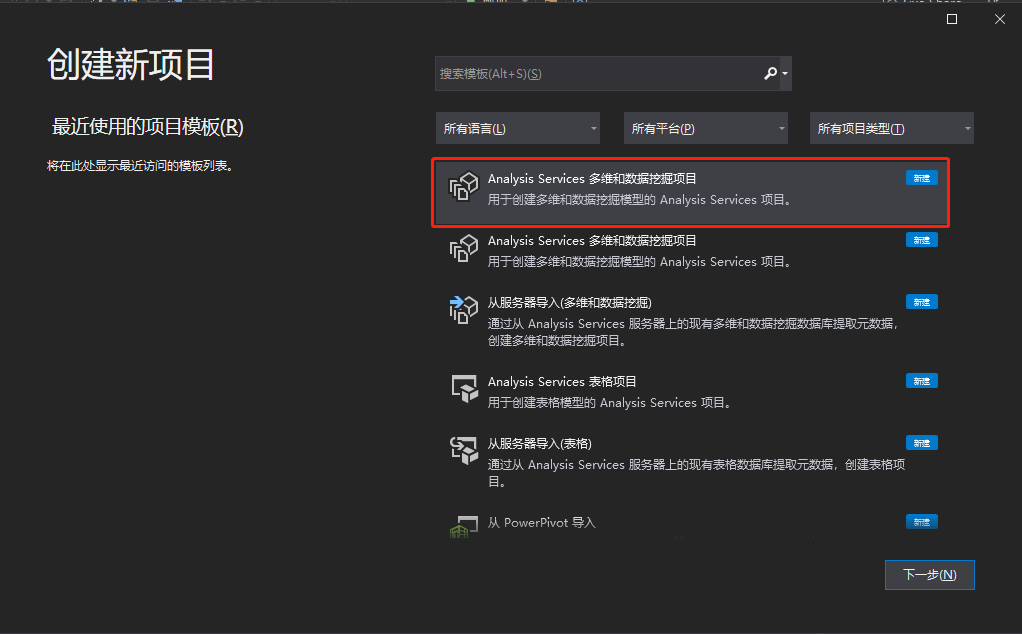
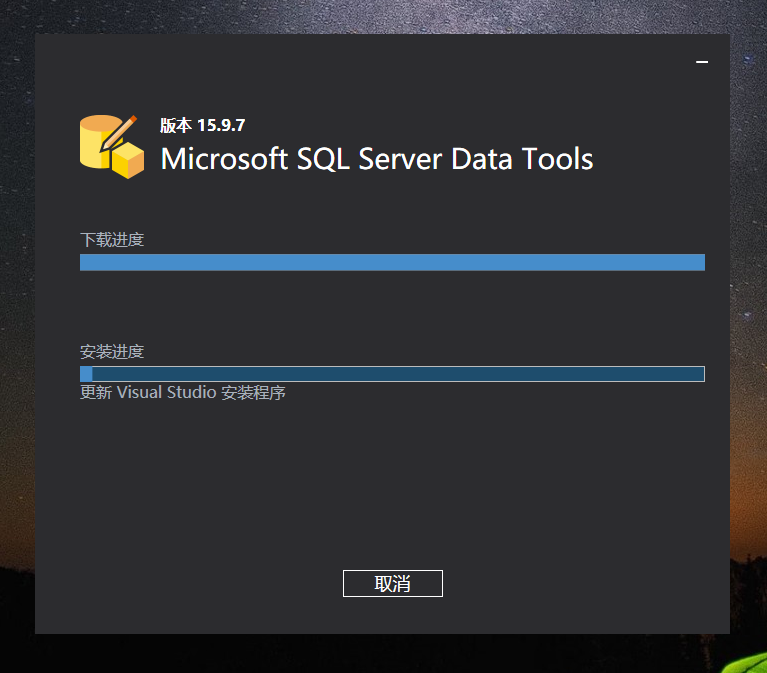
如果没有则去安装 SSDT
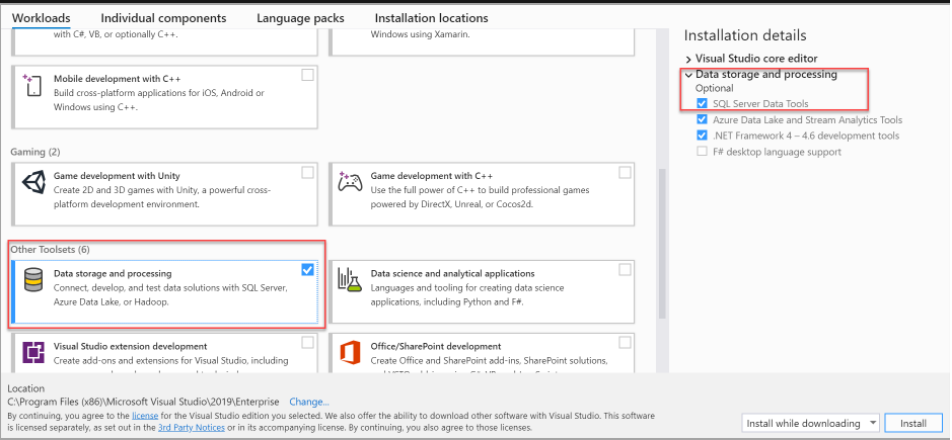
使用 Visual Studio 2019 安装 SSDT
在工作负载列表中的“数据存储和处理”下选择“SQL Server Data Tools”。
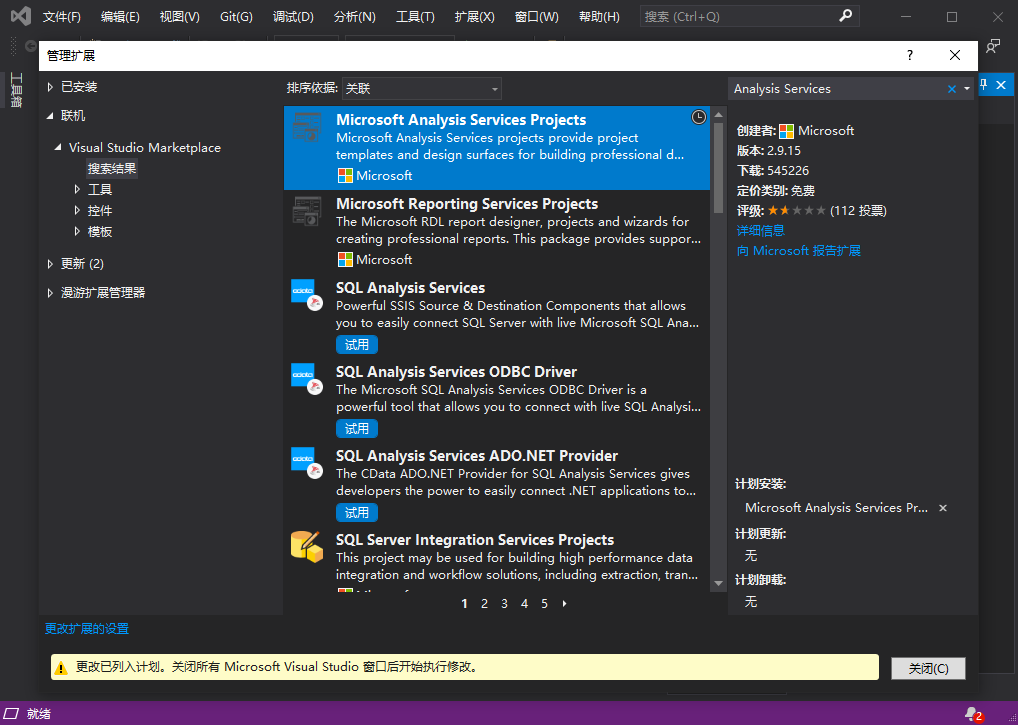
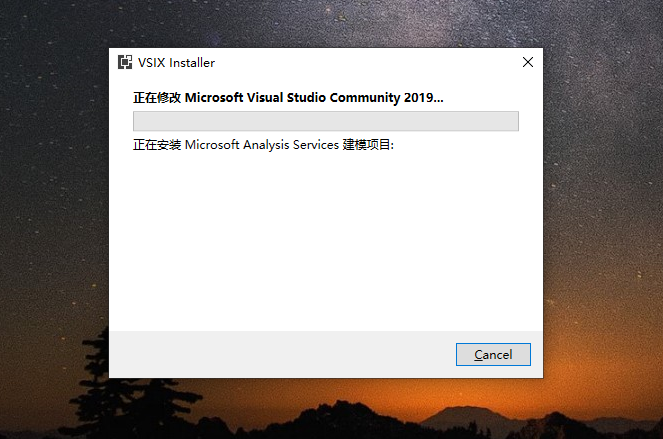
对于 Analysis Services、Integration Services 或 Reporting Services 项目,可以从 Visual Studio 的“扩展” > “管理扩展”或从[市场](https://marketplace.visualstudio.com/search?term=services&target=VS&category=All categories&vsVersion=&sortBy=Relevance)安装相应的扩展。
建立项目
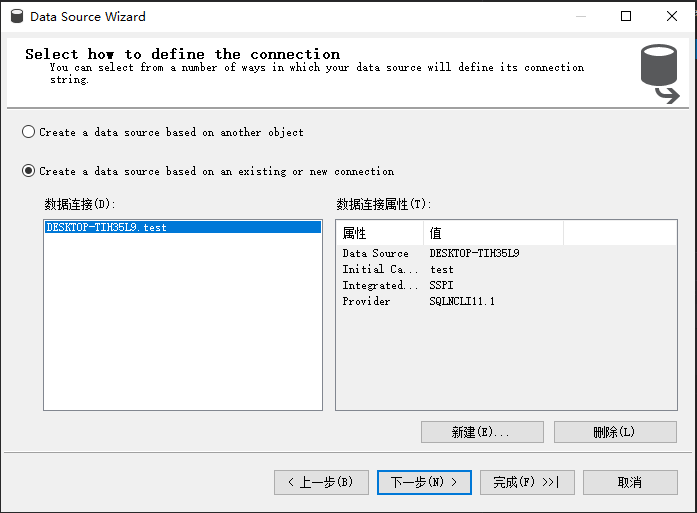
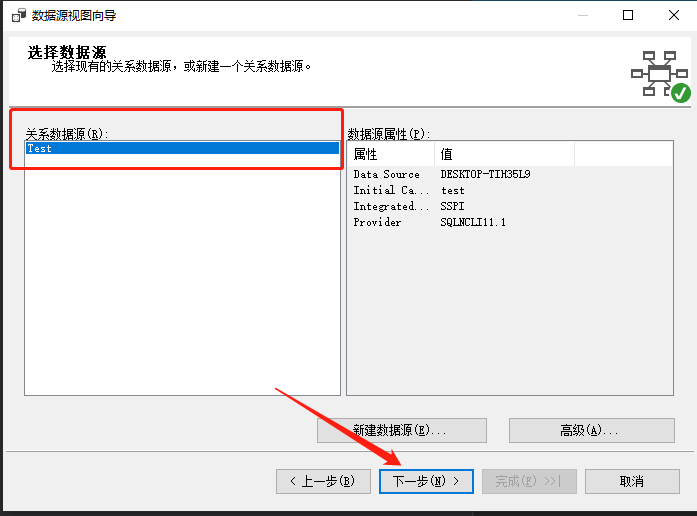
建立连接
点击下一步选择以下:前提你连好SqlServer
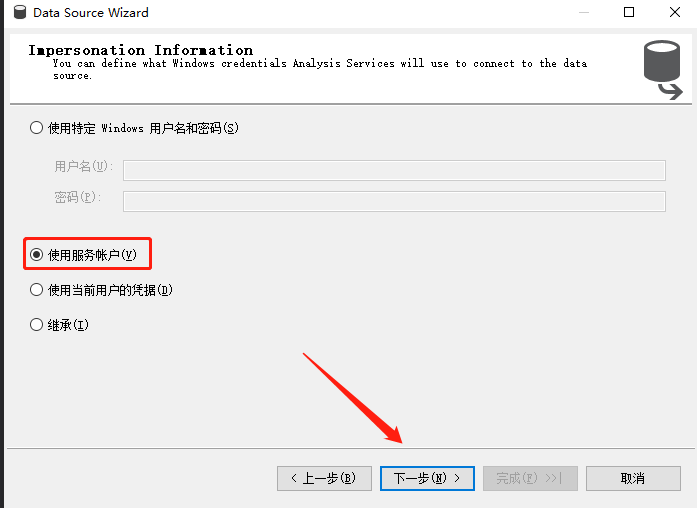
选中 "使用服务账户"
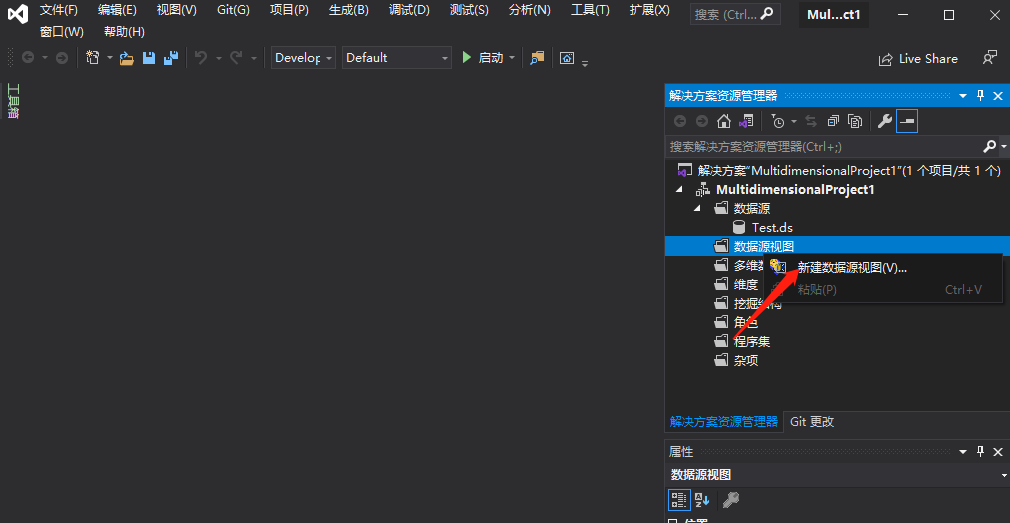
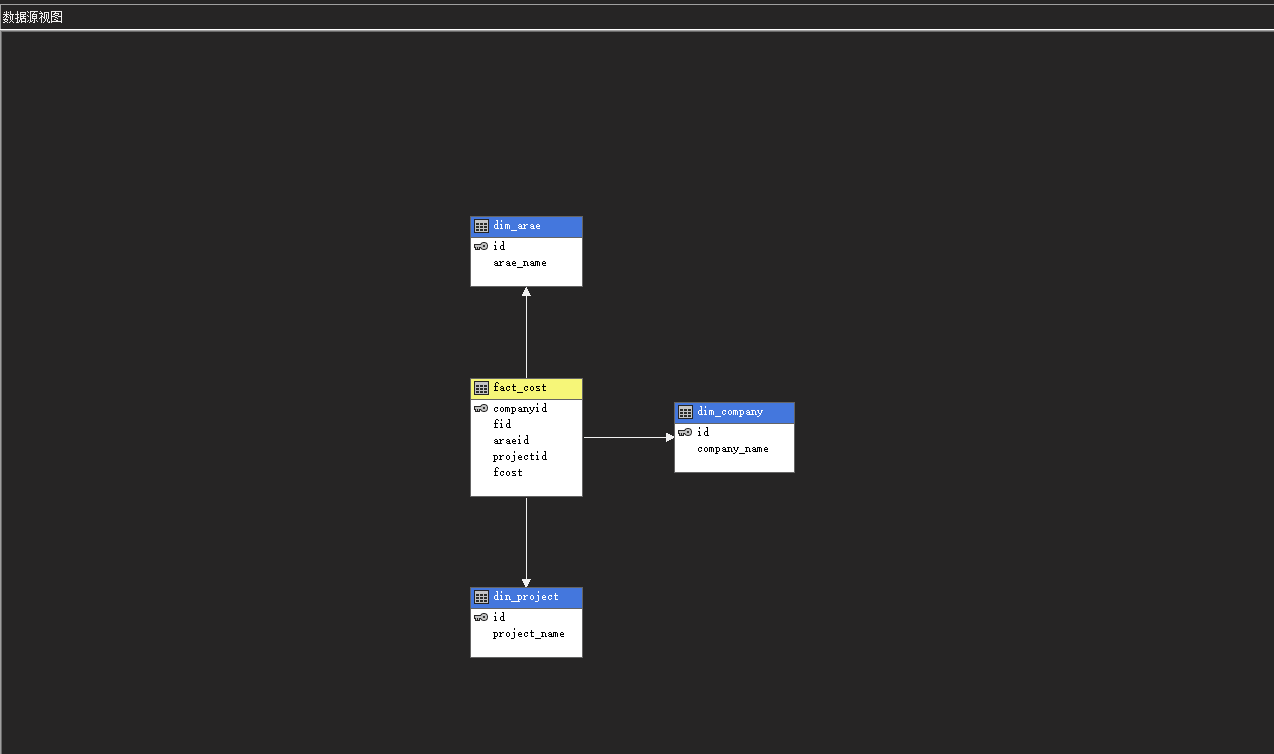
新建数据源视图

添加所有表

然后点击完成
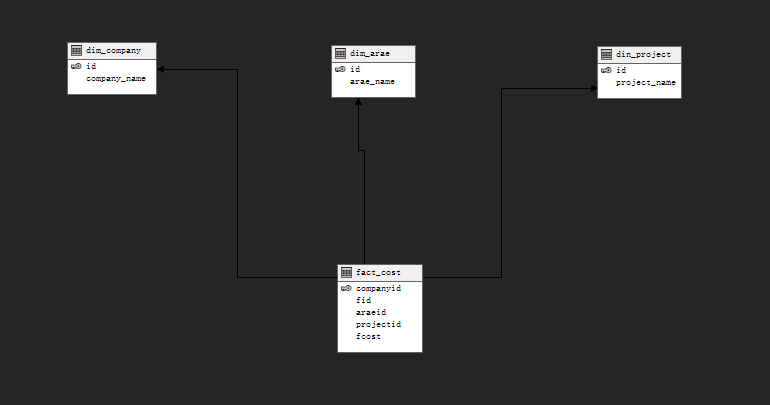
建立关系
至关重要的一点是,有可能你的数据源图里面的表之间没有联系,这时候,需要你自己新建关系,链接外键
新建维度
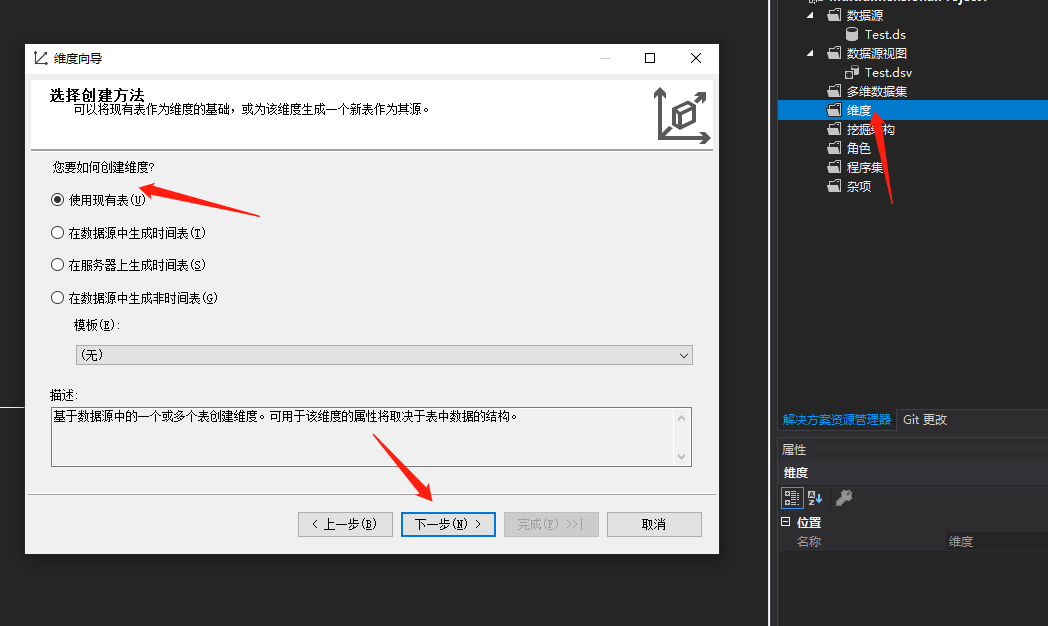
选中对应的数据视图
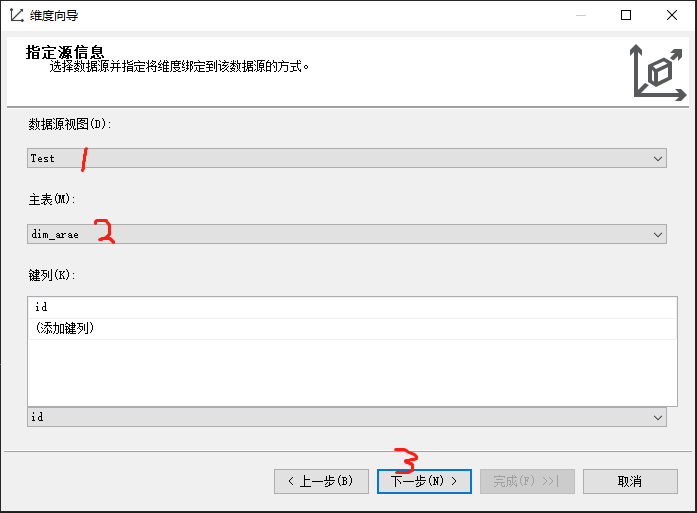
选中维度属性
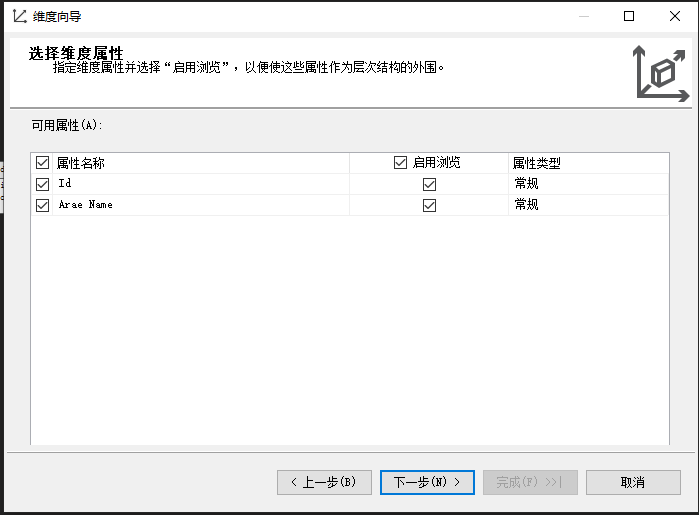
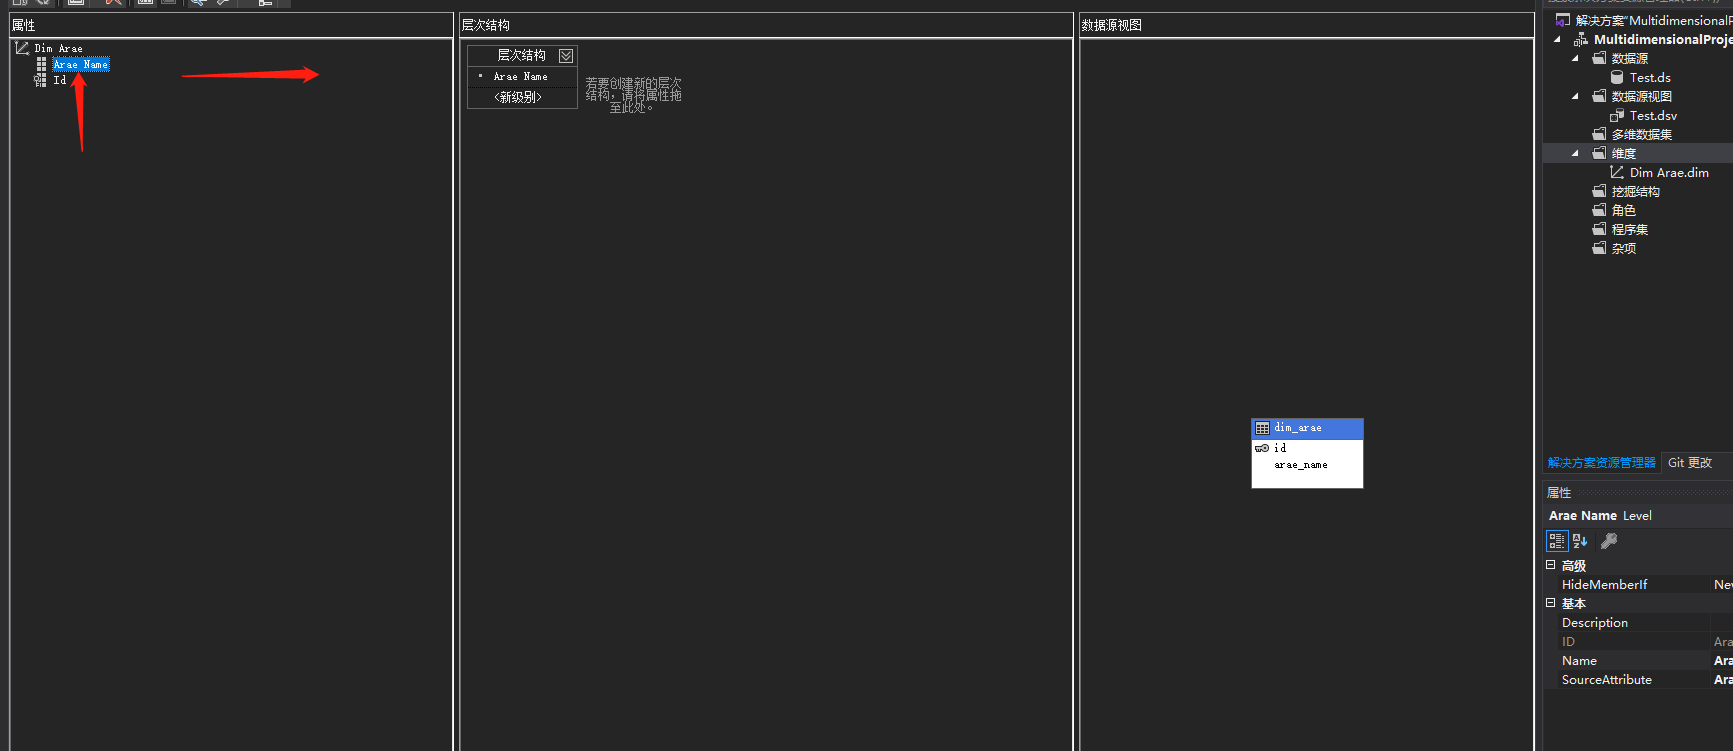
下一步,完成,这里需要把需要的维度属性拖过来。建立层次结构
依照上述步骤,依次建好你所有要用到的维度表
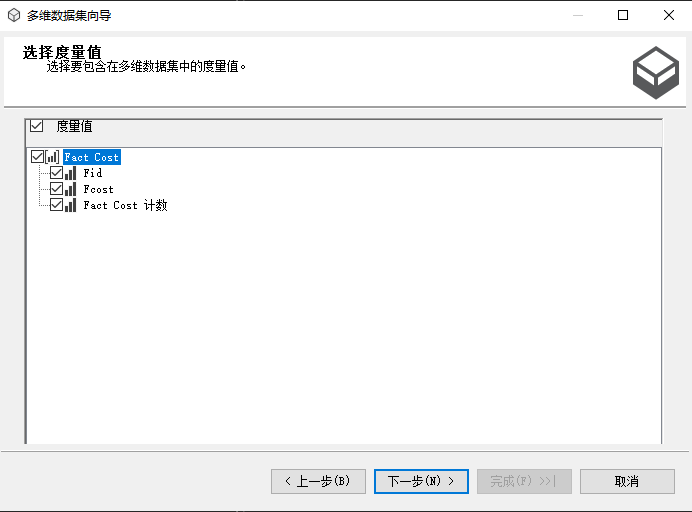
建立多维数据集
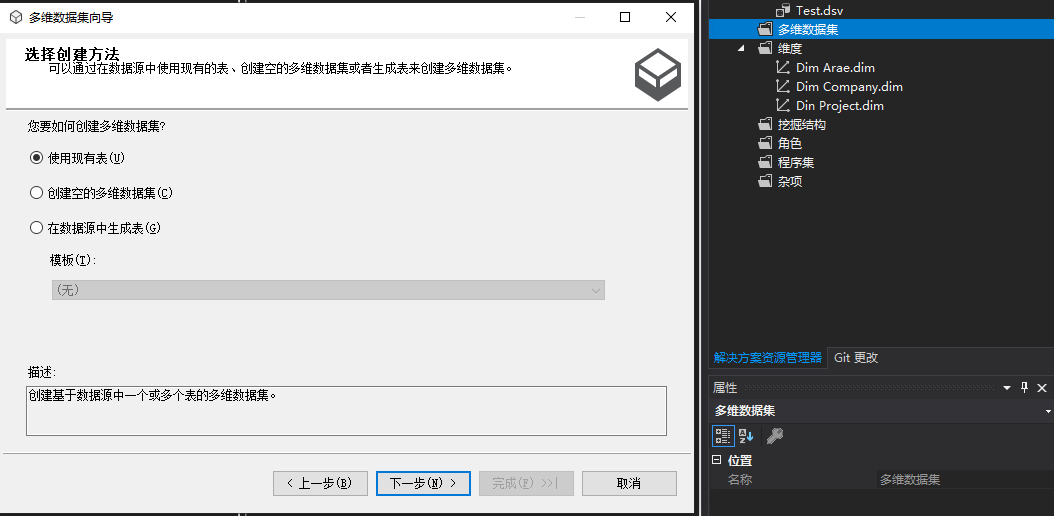
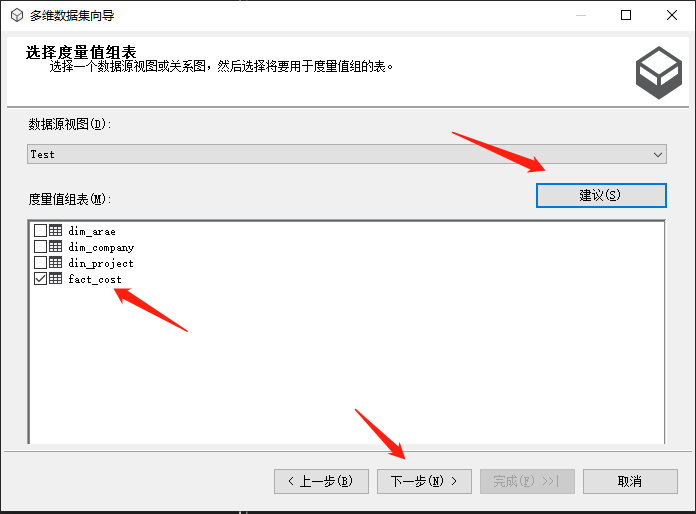
下一步,还是选好数据源视图,点建议,就会自动选好事实表,再点下一步
选择度量值
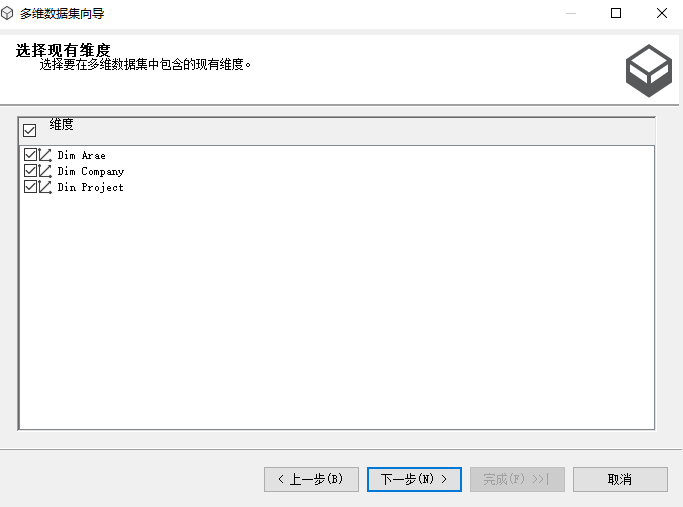
选择现有维度
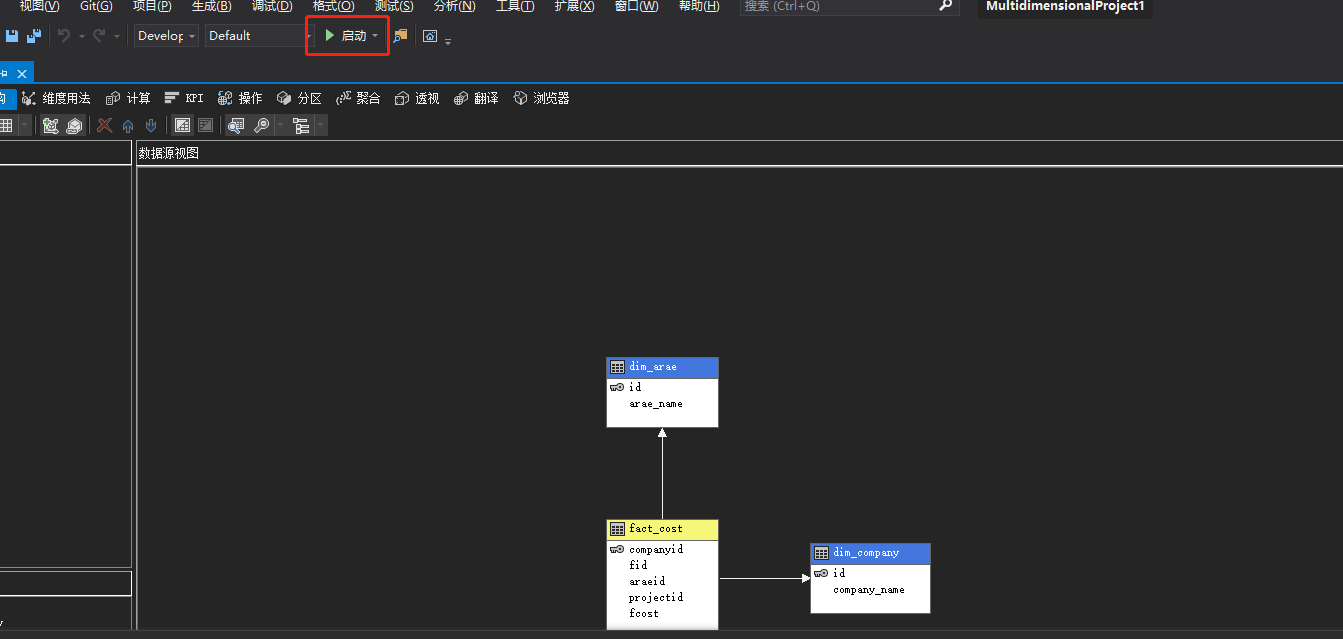
启动
爬坑过程
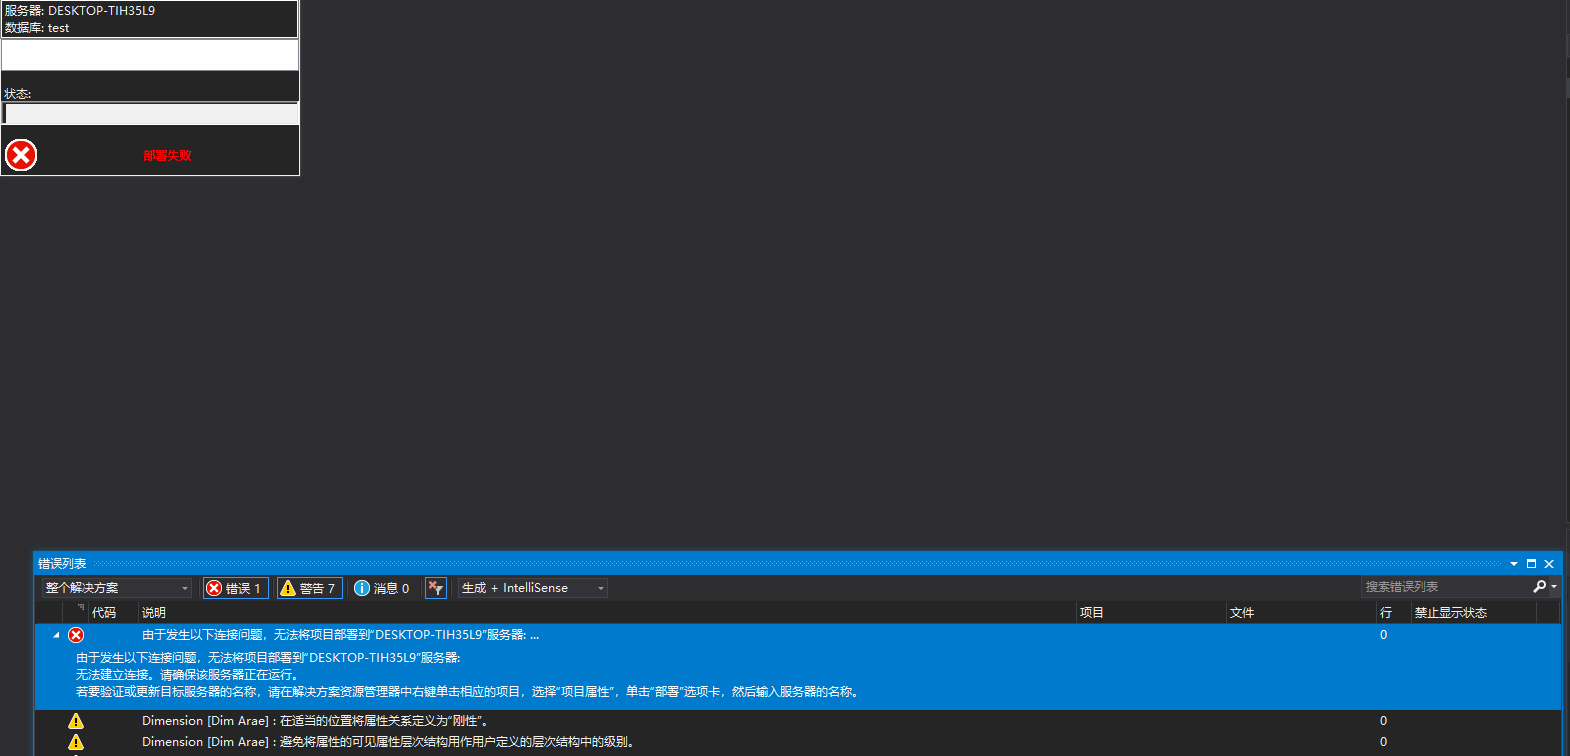
无法将项目部署到"xxxxxxx"服务器....
- SQL Tools
- 安装时,如果发现devenv (11096) 需要关闭进程,需要关闭SQL Server相关服务的进程,或VS的进程
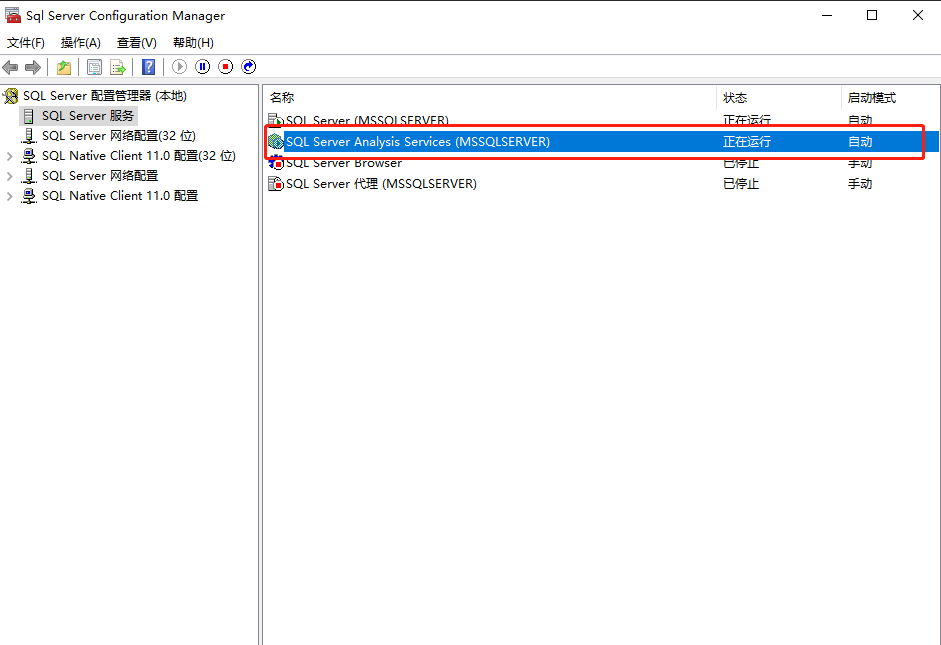
解决办法
保证 SQL Server Analysis Services 正在运行
测试数据
参考资料
- 作者:何以问
- 链接:https://heyiwen.com/article/olap-4
- 声明:本文采用 CC BY-NC-SA 4.0 许可协议,转载请注明出处。